Contact form on a static page with Amazon Lambda
If you are here, then I assume that you probably don’t know PHP nor Wordpress, and so you decided to build a static web page or use some static page generator like Jekyll, Grav or GatsbyJS. Right now your obvious option to provide ability to create a contact from is using a formspree.io or something similar. I’m going to show you how to write your own contact form ‘backend’ in very short time.

Please remember that this is not a step-by-step tutorial, I’m describing overall architecture with code (copy-paste ready certification). If you have any remarks, then let me know or create a Github issue. 😉
Requirements
- minimal knowledge about Amazon Web Services
- basic JavaScript skills
Used technologies
Build environment
If you are familiar with used technologies the diagram should be pretty straightforward for you.

Static web page should be gathering data from contact form, validate and send them using XHR Fetch, jQuery or in
other way to API Gateway by POST method. API Gateway will invoke Lambda function, and the Lambda function will invoke
our JavaScript code where we parse POST request, do some custom logic and call sendEmail(...) on SES service.
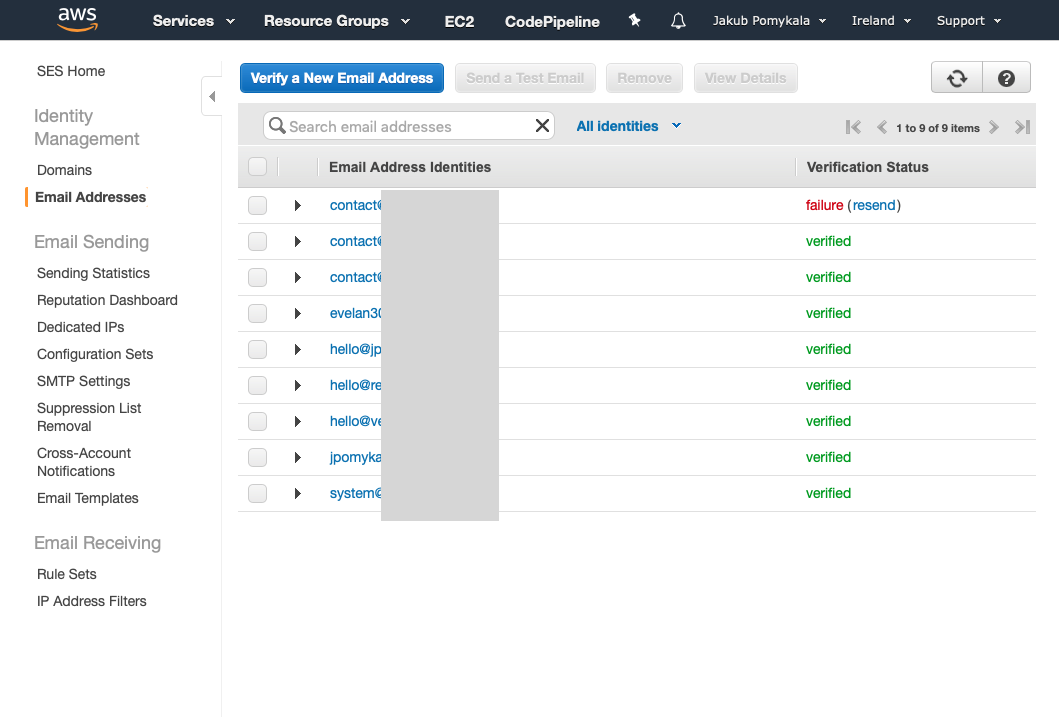
0. Verify your e-mail address
SES e-mail address verification can be done here (eu-west-1)
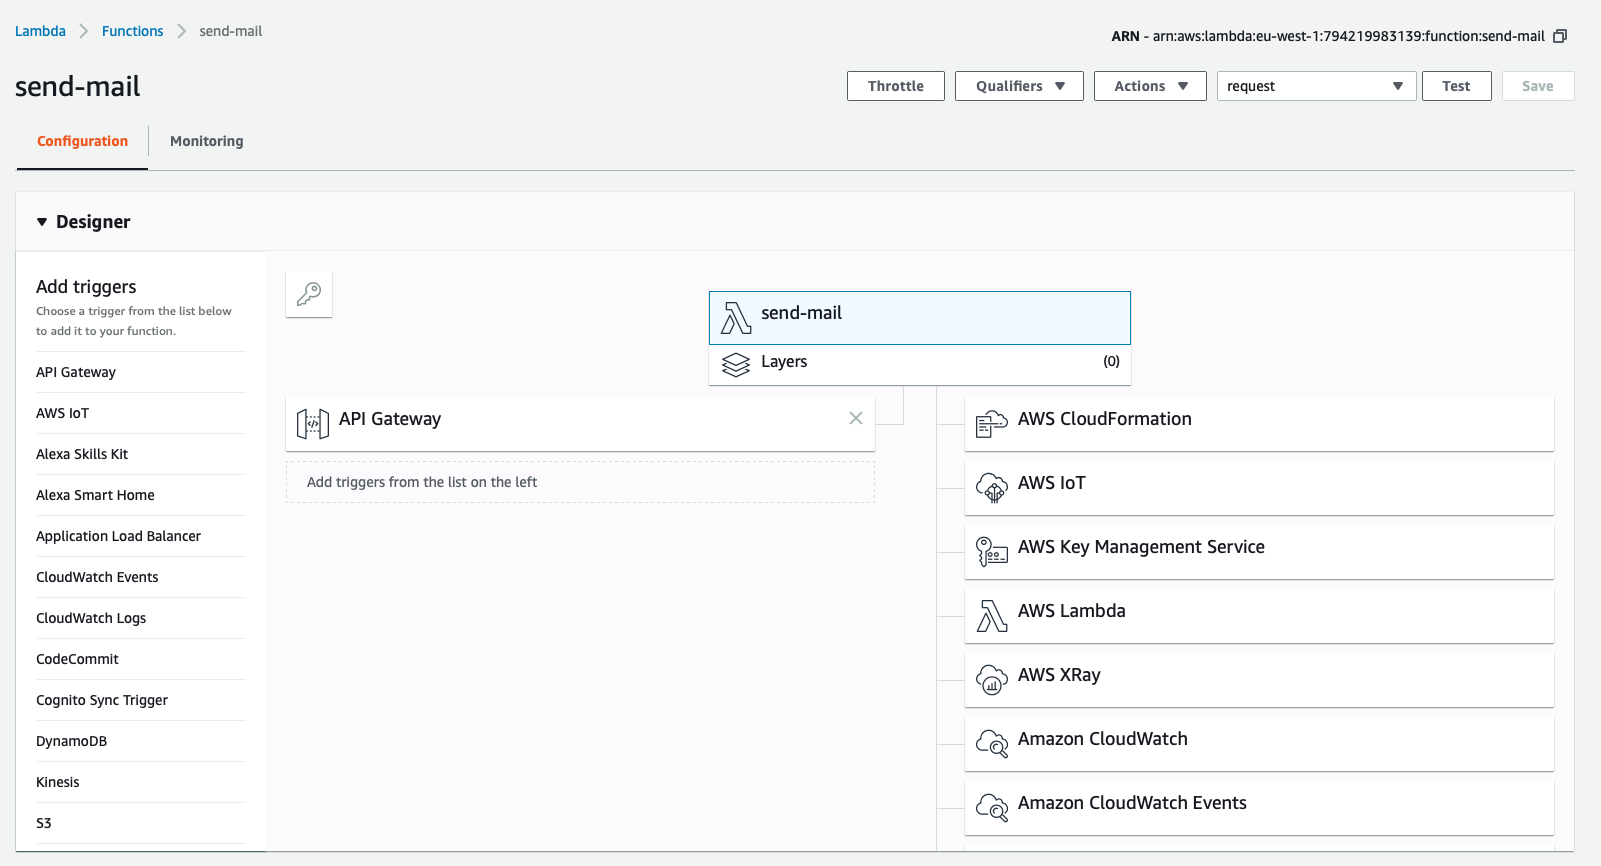
1. Lambda Function
We will start with creating AWS Lambda function and choosing a NodeJS 8.1 environment.
The full code can be found on GitHub Gist
import aws-sdk
Once we have prepared environment, then we can start to implement the function. A first important thing is that we need to import aws-sdk to use SES and other Amazon services.
var aws = require("aws-sdk");AWS Lambda responses
Success and error responses. This part is more important than you think. If we return wrong JSON from lambda function to API Gateway, the client (contact form in this case) will get HTTP 500 status. Code will be invoked and email sent anyway, but it’s just a good practise to follow the documentation and just don’t return 500 status codes intentionally.
const successResponse = {
    "statusCode": 200,
    "headers": {
        "Content-Type": "application/json",
    },
    "body": JSON.stringify({ message: ":)" }),
    "isBase64Encoded": false
};

const errorResponse = {
    "statusCode": 500,
    "headers": {
        "Content-Type": "application/json",
    },
    "body": JSON.stringify({ message: "something bad happened, check logs" }),
    "isBase64Encoded": false
};
Check is domain allowed
By using this function we can easily turn on and off e-mail sending from certain domains.
const extractDomain = (emailAddress) => {
    const emailSplit = emailAddress.split('@');
    const arraySize = emailSplit.length;
    if(arraySize < 2){
        console.warn("Domain not found for email:", emailAddress);
        return "";
    }

    return emailSplit[arraySize - 1];
}

 const allowedDomains = ['simplelocalize.io', 'jpomykala.com', 'yourdomain.com'];
 const isDomainAllowed = (domain) => allowedDomains.includes(domain);
E-mail message
This is a true strength of this solution. We are passing whole Javascript object from contact form to e-mail formatted
with <pre></pre> tags and JSON.stringify.
const getEmailMessage = (request) => {
    return {
        Body: {
            Html: {
                Charset: "UTF-8",
                Data: `
                    <body>
                    <p>${request.message}</p>
                    <pre>${JSON.stringify(request, undefined, 2)}</pre>
                    </body>
                    `
            }
        },
        Subject: {
            Charset: "UTF-8",
            Data: `New submission`
        }
    }
}
Send e-mail with SES service
The most important part of this function is of course sending email by SES. Let’s create a JSON params object with a message, subject and all other SES options which can be found here.
 const params = {
        Destination: {
            ToAddresses: [sendToEmail]
        },
        Message: emailMessage,
        Source: `${request.name || "Unknown"} <[email protected]>`,
        ReplyToAddresses: [request._replyTo]
    };


    const sendPromise = new aws.SES()
        .sendEmail(params)
        .promise();

    await sendPromise
        .then(data => {
            console.log(`E-mail sent to ${sendToEmail}`);
            console.log(successResponse);
            callback(null, successResponse);
        })
        .catch(err => {
            console.log("E-mail NOT sent", err);
            console.log(errorResponse);
            callback(errorResponse);
        });
Now we can deploy our function and move to the API Gateway.
2. Set up API Gateway
Setting up API Gateway for Lambda functions, should be straightforward. There is no need to code anything, just click-and-play configuration.
In this case I set up my endpoint to receive any HTTP method. For working contact form you will need only http/post method.

Things to remember
- Every time we change something on endpoint configuration we need deploy API again to see changes. Use:
Actions -> Deploy API - Remember about setting up CORS while using API Gateway. Use:
Actions -> Enable CORS
3. Contact form example
HTML form
<form action="#" id="callbackForm" class="contact-form">
    <div class="form-group">
        <label for="email">Email</label>
        <input type="email" required id="email" class="form-control" placeholder="" autocomplete="email" name="email" />
    </div>
    <div class="form-group">
        <label for="name">Message</label>
        <input id="message" type="text" class="form-control" placeholder="" name="message" />
    </div>
    <button type="submit" id="sendMessageButton" class="btn btn-primary btn-block">
        Send message
    </button>
</form>
JavaScript to submit the form
<script>
        $("#callbackForm").submit(function(e) {
            e.preventDefault();
            var replyTo = $("#email");
            var message = $("#message");
            var data = {
                "_sendTo": "<your_email>",
                "_replyTo": replyTo.val(),
                "message": message.val()
            };
            var url = "<API_GATEWAY_URL>";
            $.ajax({
                url: url,
                type: 'POST',
                crossDomain: true,
                data: JSON.stringify(data),
                dataType: 'json',
                contentType: "application/json"
            });
        });
</script>
Conclusion
We can scale this technique to multiple web pages with ease, but this solution in current form has few downsides. For now the only one protection against DDoS or some similar attack is rate limiter included in Lambda function. Right now there is no bot protection, no captcha or something like that. We can add Google re-captcha on the contact form and setup rate limiting on both API Gateway and Lambda function, to avoid unnecessary costs.
Update 2021-02-23
So far I didn’t have any issues with this solution. I’ve never received any SPAM or message from a bot. 😄